
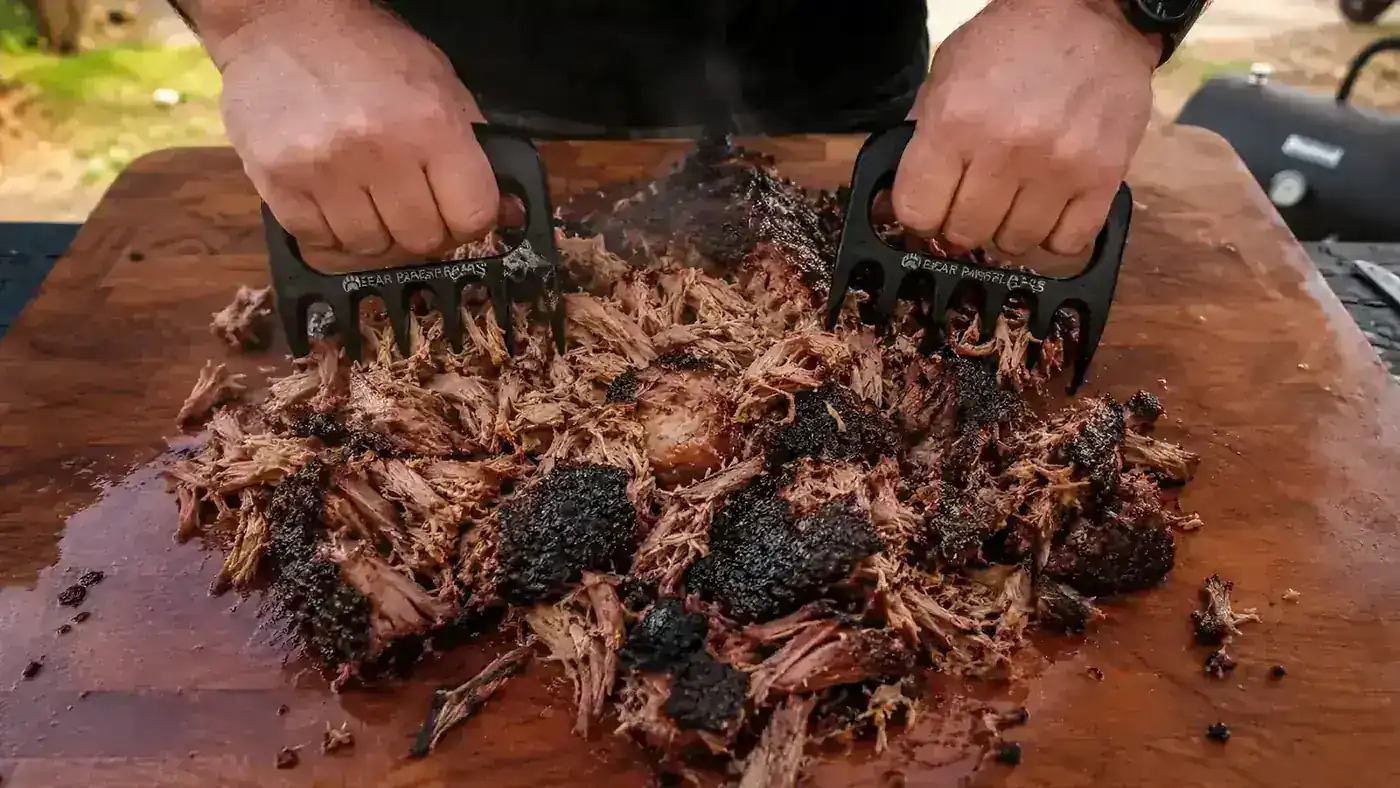
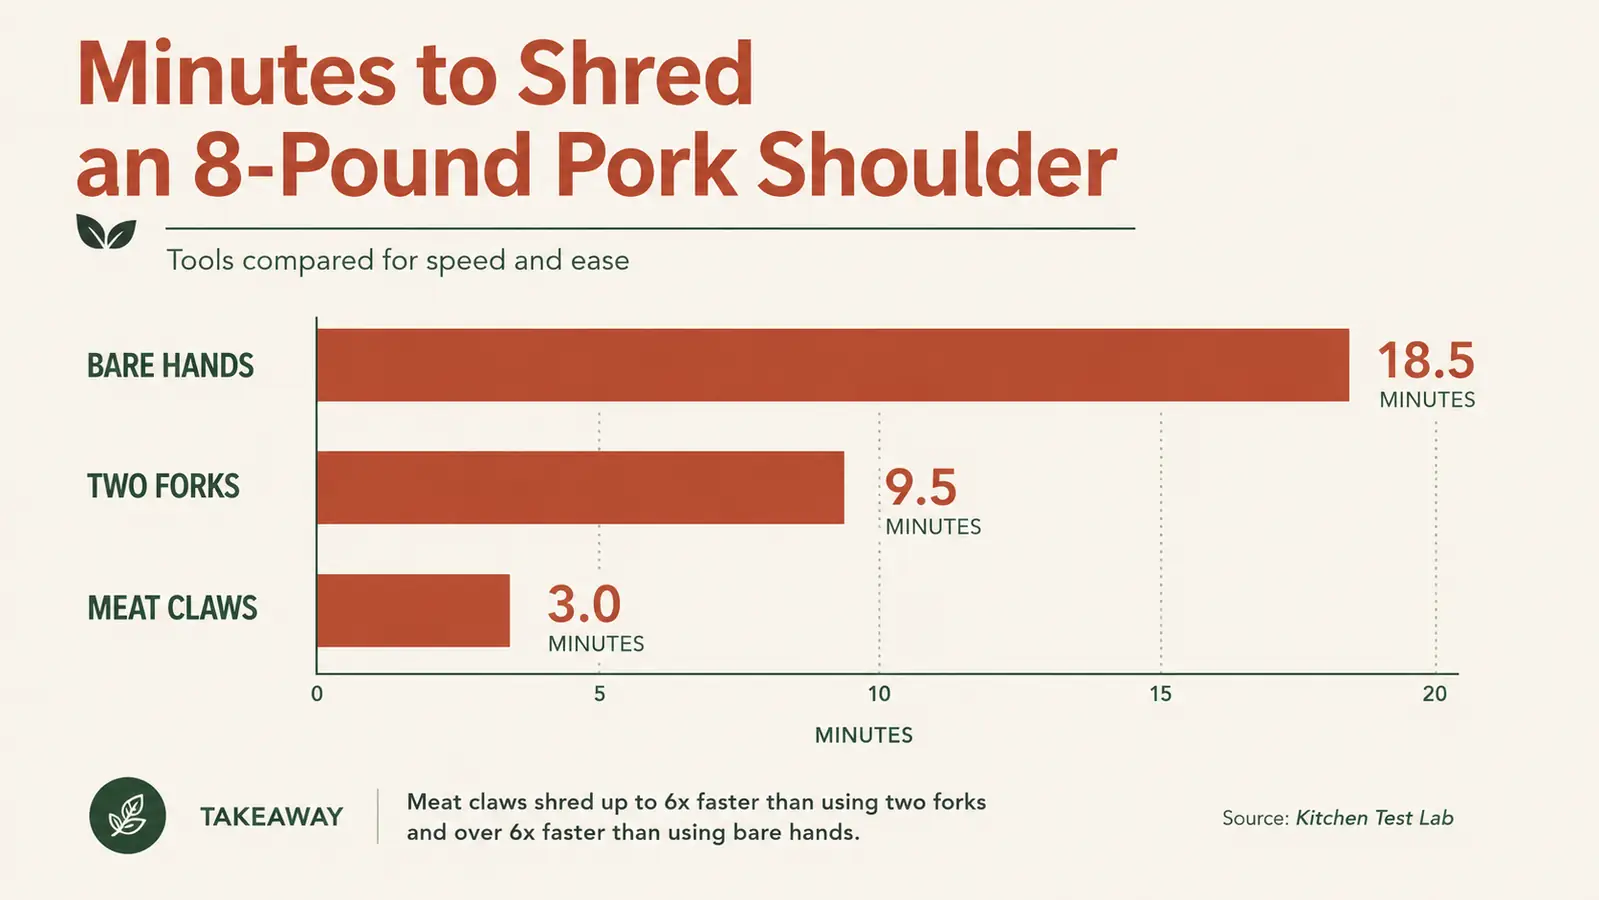
I smoke a pork shoulder almost every other Saturday I have off from twelve-hour shifts, and for years the shredding part was the piece I dreaded most. I would pull the meat off the smoker, grab two dinner forks, and stand at the counter for twenty minutes tearing at hot pork while juice ran down my arms and half the bark got mashed into a paste instead of staying in nice chunky strands. My hands would cramp before I was even halfway through an eight-pound butt.
What actually fixed it was a cheap pair of plastic-handled meat claws, the Bear Paws brand specifically, which are basically two claw-shaped hand grips with curved tines that hook into the meat instead of mashing it. I was skeptical the first time my brother-in-law left a pair at my house after a cookout, but the first time I used them on a pork shoulder I had a full eight pounds shredded in about ten minutes flat, sitting down, no cramped hands, no juice up my forearms. Here is exactly how I do it now, start to finish, so you get long strands of pulled pork instead of a mushy pile.
Stop wrestling hot pork with two forks. There's a faster, cleaner way.
A pair of meat claws turns twenty minutes of arm-cramping shredding into about ten minutes of sitting down and pulling. Bear Paws are the pair I actually reach for every time I smoke a shoulder.
Amazon Check Today's Price on Amazon →Step 1: Pick the Right Cut and Take It to Temperature
This whole process starts before the claws ever touch the meat. Pork shoulder, whether you call it a Boston butt or a picnic roast, is the cut built for shredding because it has enough intramuscular fat to stay juicy through a long cook and enough connective tissue to break down into that soft, pull-apart texture. A lean cut like a pork loin will just fight the claws and shred into dry, stringy bits no matter how good your technique is.
I pull my shoulder off the smoker or out of the oven at an internal temperature between 195 and 205 degrees, checked with an instant-read thermometer in the thickest part away from the bone. Below 195, the collagen has not fully rendered and the meat will resist the claws instead of pulling apart in long strands. I have tried rushing it at 185 to save time and regretted it every single time, the meat comes out tougher and the claws just tear it into ragged chunks instead of clean strips.
If you do not own a thermometer yet, the old probe test still works as a backup. Slide a skewer or thin knife into the thickest part of the shoulder, and if it slides in with almost no resistance, like pushing into softened butter, you are usually close to that 195-to-205 window. I still check with a thermometer whenever I have one handy, since guessing has cost me a rubbery shoulder more than once, but the probe test has saved a cookout when my thermometer battery died mid-cook.
Step 2: Let It Rest Before You Touch It With Claws
I wrap the shoulder in foil, then a towel, and let it rest in a cooler or just on the counter for at least 30 minutes, sometimes up to 45 if I am not in a rush. This is the step people skip when they are hungry and impatient, and it is the reason a lot of pulled pork comes out mushy. During that rest, the juices redistribute through the meat instead of running out onto your cutting board the second you break it open.
It also matters for your hands. Meat straight off a 225-degree smoker is genuinely too hot to shred safely even with claws, since the plastic handles keep your palms off the meat but the tines are still metal or hard plastic that transfers heat. A 30-minute rest brings the surface down to a temperature where you can actually control your pulls instead of rushing through it because your hands hurt.
I have started using butcher paper instead of foil for the rest when I want to hold onto a little more bark texture, since foil traps steam and can soften the crust more than paper does. Either works fine for the shredding step itself. The towel wrapped around whichever one you choose is really doing the insulating, keeping the whole package hot enough to stay food-safe through the rest without cooking the meat any further.
Step 3: Position the Meat and Get a Solid Grip
I do this in a large aluminum foil pan or a rimmed baking sheet, never directly on my wood cutting board, because a rested pork shoulder still releases a surprising amount of liquid and you want to catch it, not lose it down the counter. Unwrap the shoulder, pull the bone out first if it does not fall out on its own, and set it aside. If the bone comes out clean, that is your sign the cook was done right.
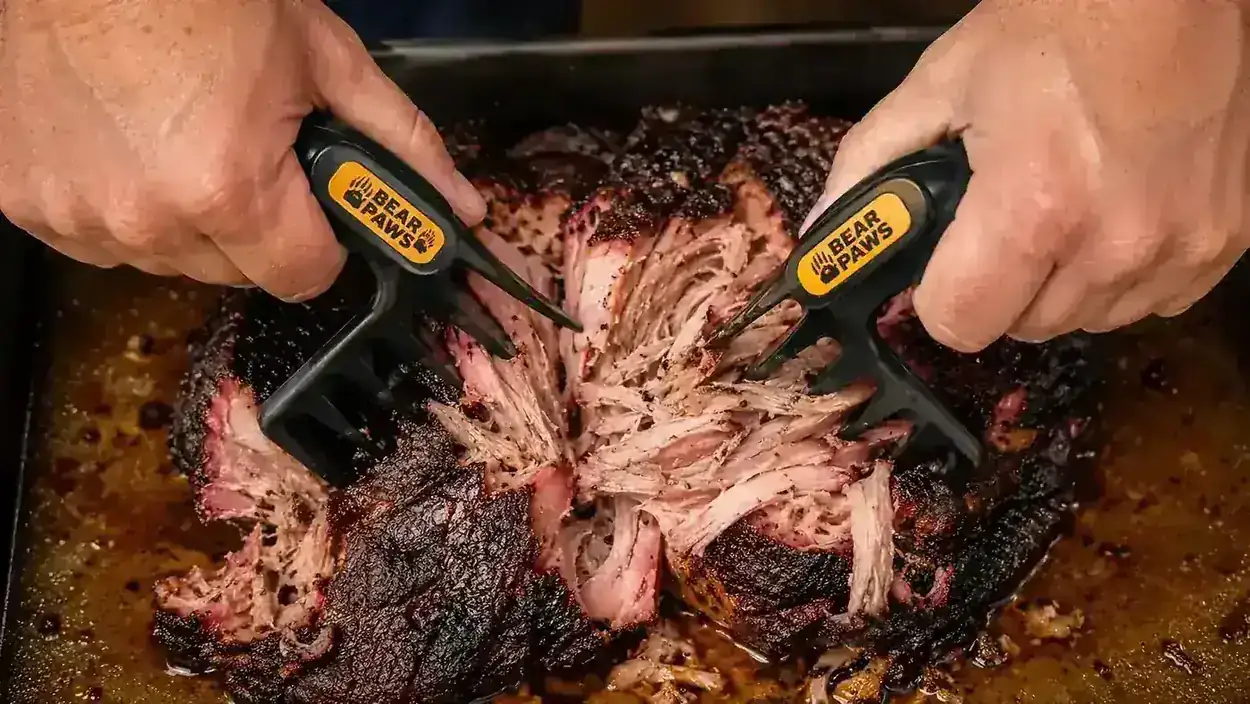
With the meat sitting in the pan, I grip a claw in each hand the same way you would hold a pair of garden trowels, thumb along the top ridge and fingers curled through the handle loop. I sink the tines into one side of the shoulder and hold that half steady while I work the other claw into a section a few inches away. You are not stabbing at the meat, you are hooking into it the way you would hook a rake into a pile of leaves.
The reason claws beat forks here comes down to grip area. A fork tine is a single narrow point, so all your pulling force lands on a tiny spot and the meat tears unevenly around it. A set of claws spreads that same force across five or six curved tines at once, which is why the meat comes apart in longer, cleaner pieces instead of shredding into confetti. It is a simple design difference, but it is the whole reason the tool works better than what most of us grew up using.

Step 4: Shred With the Grain, Not Against It
This is the step that actually makes the difference between stringy, restaurant-looking pulled pork and a mashed pile that looks like canned dog food. Pork muscle fibers run in a visible direction, and if you look closely at a rested shoulder you can usually see the grain lines even through the bark. I pull the two claws apart in the same direction those fibers run, not across them.
In practice that means slow, steady pulls rather than fast yanks. I work in sections, pulling one hand toward me and one hand away in the same line, then moving both claws a couple inches over and repeating. The curved tines catch the meat and hold it without your fingers ever touching anything above 140 degrees, which matters when you are doing this right after pulling an 8-pound shoulder off a smoker that was running at 225 for ten hours.
I mix in the bark, the dark crusty exterior, as I go rather than saving it for the end. Bark shreds differently than the interior meat, it is drier and a little tougher, so breaking it into smaller pieces throughout the pile instead of leaving it in big chunks means every bite gets some of that concentrated smoky flavor instead of one lucky person finding it all in one spot.
If you hit a section that still feels tough or rubbery instead of pulling apart easily, do not force it. That is usually a sign that spot did not fully render, often near the shoulder blade where the meat is thicker. I set those pieces aside, finish shredding the rest, and either chop the tough bits smaller by hand or toss them back on the smoker wrapped in foil for another 20 minutes if I have the time. Forcing a claw through undercooked meat just tears it into gristly chunks nobody wants to eat.
Step 5: Mix In the Juices and Portion It Out
Once the whole shoulder is broken down into strands, I pour the collected juices from the bottom of the pan back over the meat and toss it through with the claws, the same hooking motion as the shredding itself. Those drippings carry a lot of the salt and rendered fat that seasoned the meat during the cook, and pouring them out is basically throwing away flavor you already paid for in cook time.
This is also when I decide whether to add sauce. I keep a bottle of vinegar-based Carolina style sauce on hand and toss maybe a quarter cup through the whole batch with the claws, just enough to season it without drowning it, since anyone who wants more can add it at the table. Mixing it in with the same tool you shredded with means one less dish to wash and a more even coating than pouring sauce over a plated pile.
From there I portion it straight into containers for the week or pile it onto a platter for whoever is coming over. My family goes through about a pound and a half per adult when we are doing sandwiches with coleslaw on top, so an 8-pound shoulder covers a gathering of ten with leftovers for my lunch shifts the rest of the week.
What Else Helps
A few small things make this whole process smoother. Keep a spray bottle of apple cider vinegar or a splash of the pan drippings nearby to mist the meat if it starts drying out while you shred a large batch, since a big shoulder takes a few minutes even with claws and the exposed surface cools and dries fast. I also keep a thin cutting board towel under my shredding pan so it does not slide around the counter while I am pulling with both hands. And if you are doing chicken or brisket instead of pork, the same grip and grain-direction technique works, though chicken shreds almost too easily and brisket needs a slightly firmer pull since the fibers run tighter.
Cleanup matters too if you want the claws to last. I rinse mine right after use before any sauce or fat has a chance to dry into the tines, then run them through the top rack of the dishwasher. Mine have held up through two full grilling seasons of near-weekly use without the tines dulling or the handles cracking, which is more than I can say for the cheap plastic tongs I used to buy. Store them somewhere dry between uses, since damp plastic sitting in a drawer is how mildew smell ends up in a tool you use on food.
The claws do not make the meat more tender than it already is. They just get you out of the way so the good cook you already did can actually turn into long, clean strands instead of a mashed pile.
Ten minutes, not twenty, and your hands stay out of the heat
If you smoke or slow-cook pork shoulder, chicken, or brisket even occasionally, a pair of Bear Paws meat claws pays for itself the first time you use them. Check today's price and see why they're the top-rated shredding tool in their category.
Amazon Check Today's Price on Amazon →